5 Spring Cleaning Tips for Your Facebook Account
Facebook is designed to be a place where you can stay connected with friends and family, discover what’s going on in the world, and share what matters to you. As you connect and share more online, knowing how to manage your privacy and protect your information is more important than ever. Facebook offers a range of privacy and security tools to help strengthen your account security and to give you control over who can see what you share.
Whether you’re new to Facebook or have been using the platform for years, it’s a good idea to review your privacy and security settings every six months. Here are five simple tips to help you spring clean your Facebook profile and customize your privacy and security settings. 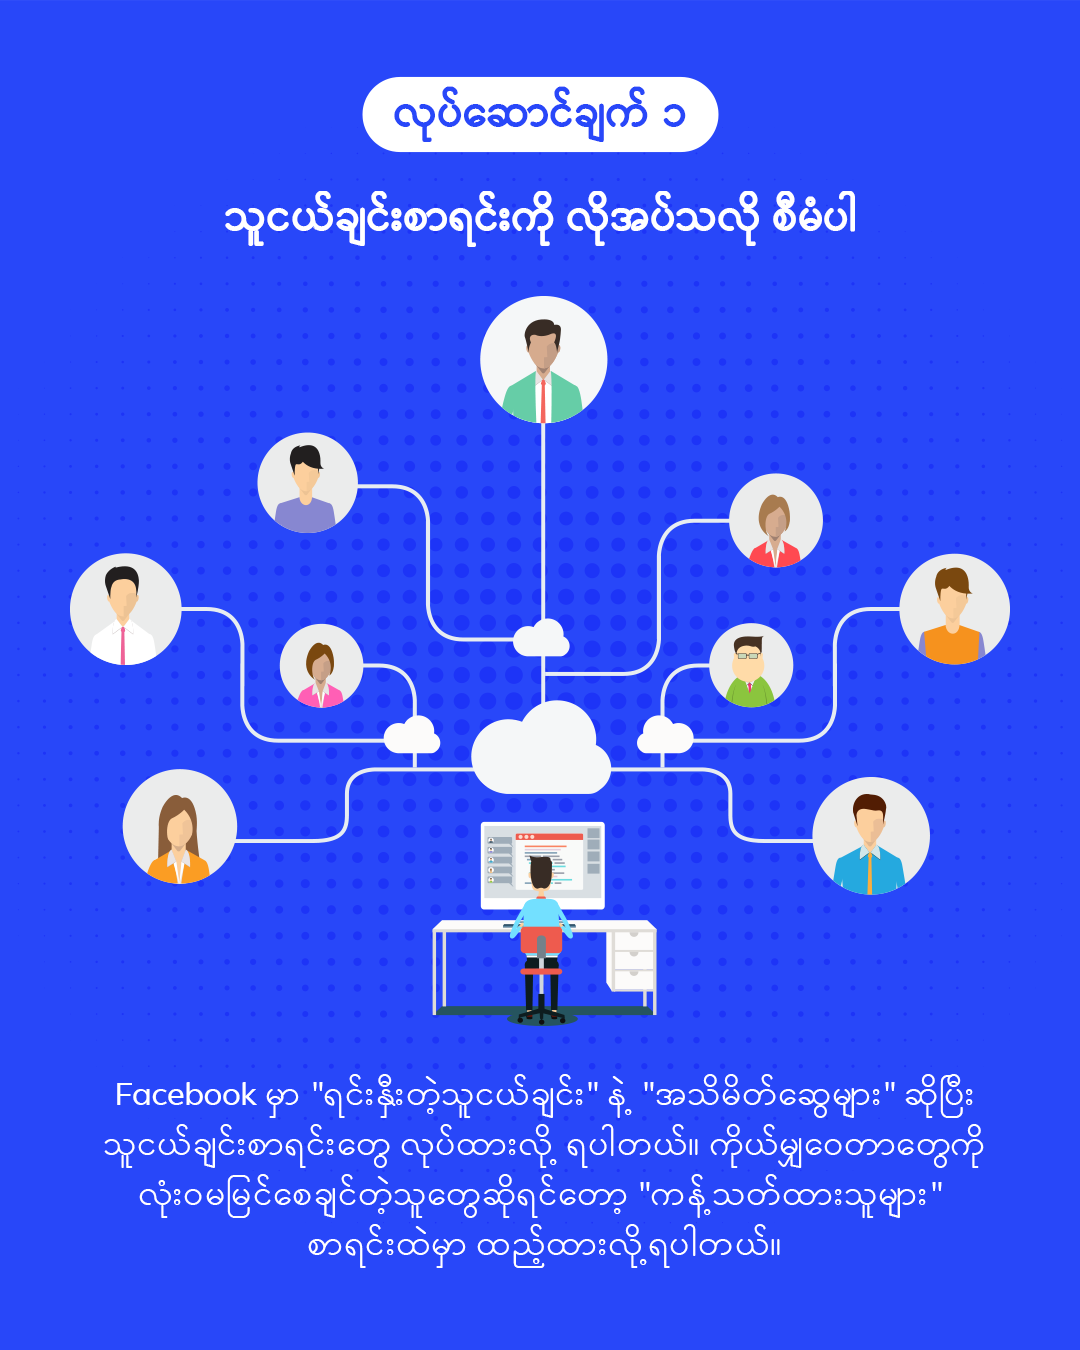
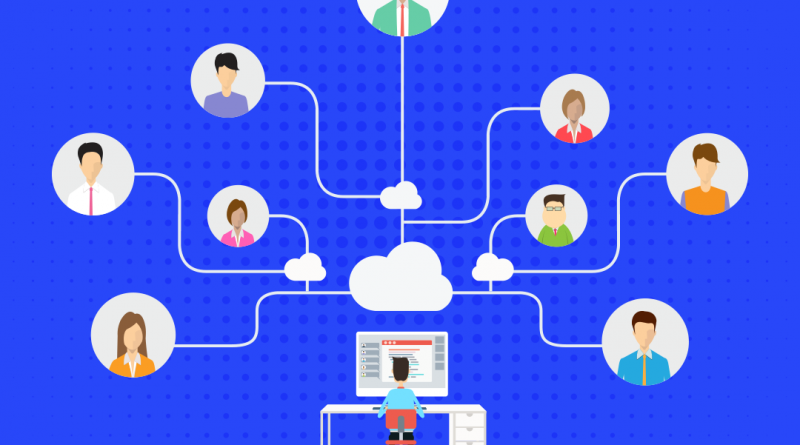
Tip 1 – Take Control of Your Friends List
Facebook lets you organize your friends into separate lists so that you can take control of who sees what you post. You can get started by creating a “Close Friends” list for friends you may want to share exclusively with and an “Acquaintances” list for anyone you may want to share less with. Use a “Restricted” list for people you have added as friends but don’t want to share with. Someone on your “Restricted” list will only be able to see your public content or posts of yours that you tag them in.
How to access friend lists:
- Log on to Facebook from an internet browser
- Click “Friend Lists” in the left menu on your timeline
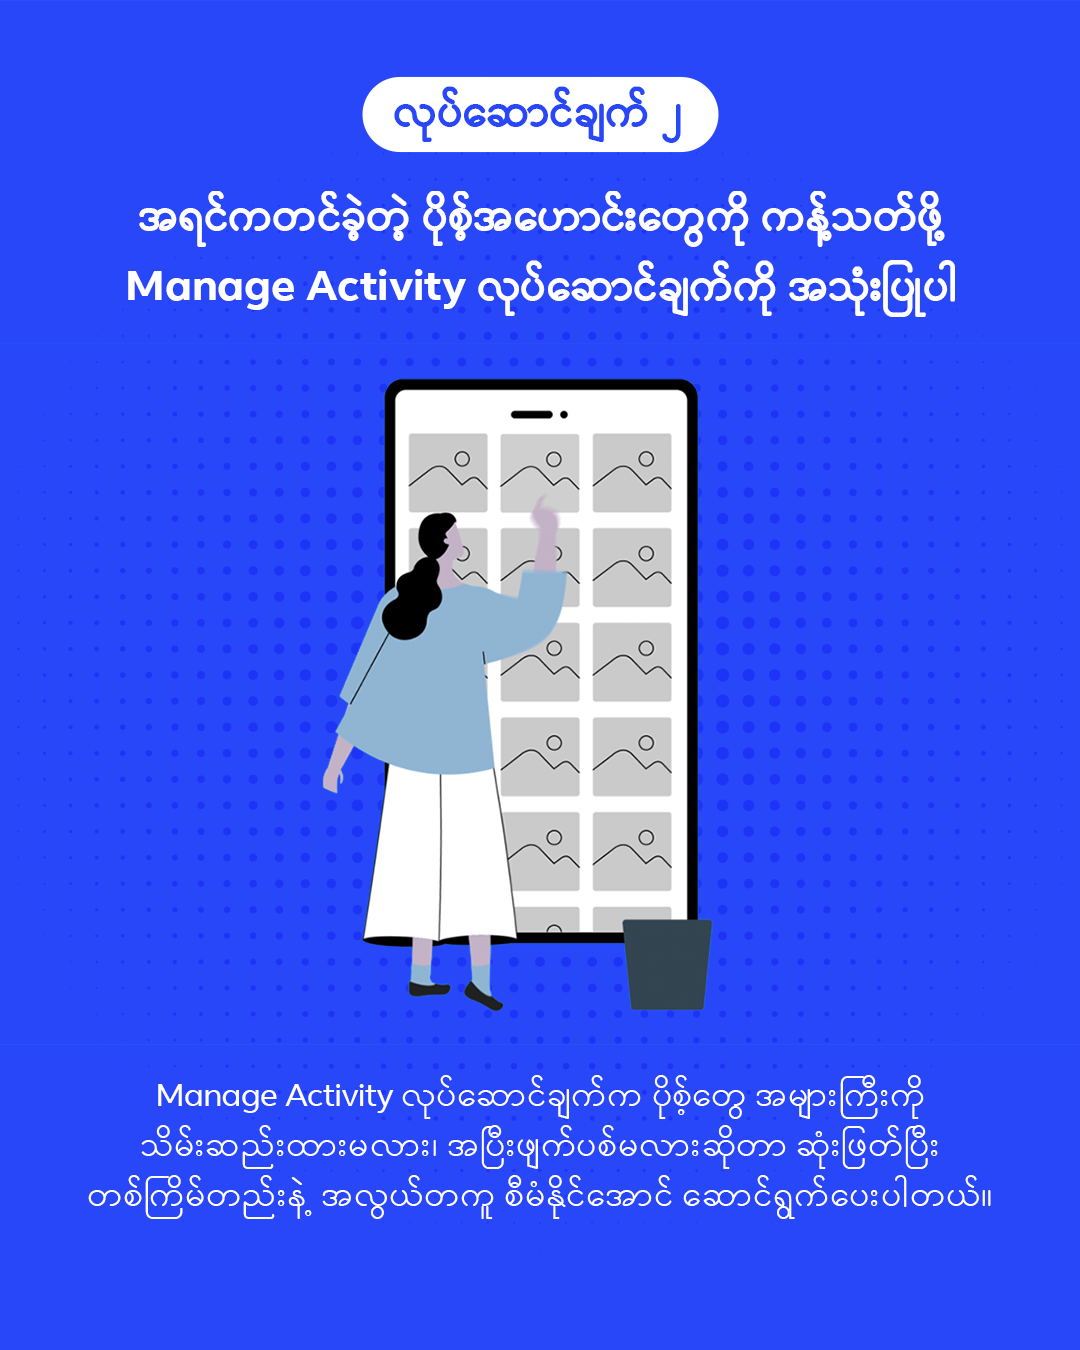
Tip 2 – Use Manage Activity to Limit Your Past Posts
Manage Activity allows you to curate your presence on Facebook and manage past activity, including archiving or deleting old posts that you no longer want others to see. The feature lets you manage a large group of posts at once, deciding whether to archive or permanently delete them. This saves you the hassle of having to scroll through and delete each individual post.
How to access Manage Activity:
- Open your Facebook mobile app and tap “Menu” then “See your profile”
- Tap the three dots on the right of your profile followed by “Activity Log”

Tip 3 – Choose What You Get Notified About
You can’t turn off notifications entirely, but you can choose what you’re notified about and how you’re notified. This includes push notifications sent to you when you aren’t using Facebook, and in-app notifications that appear while you are on Facebook.
How to access your notification settings:
- Log on to Facebook from an internet browser
- Click the arrow on the top right of your newsfeed and select “Settings & Privacy”
- Click “Settings” followed by “Notifications” on the left-hand side
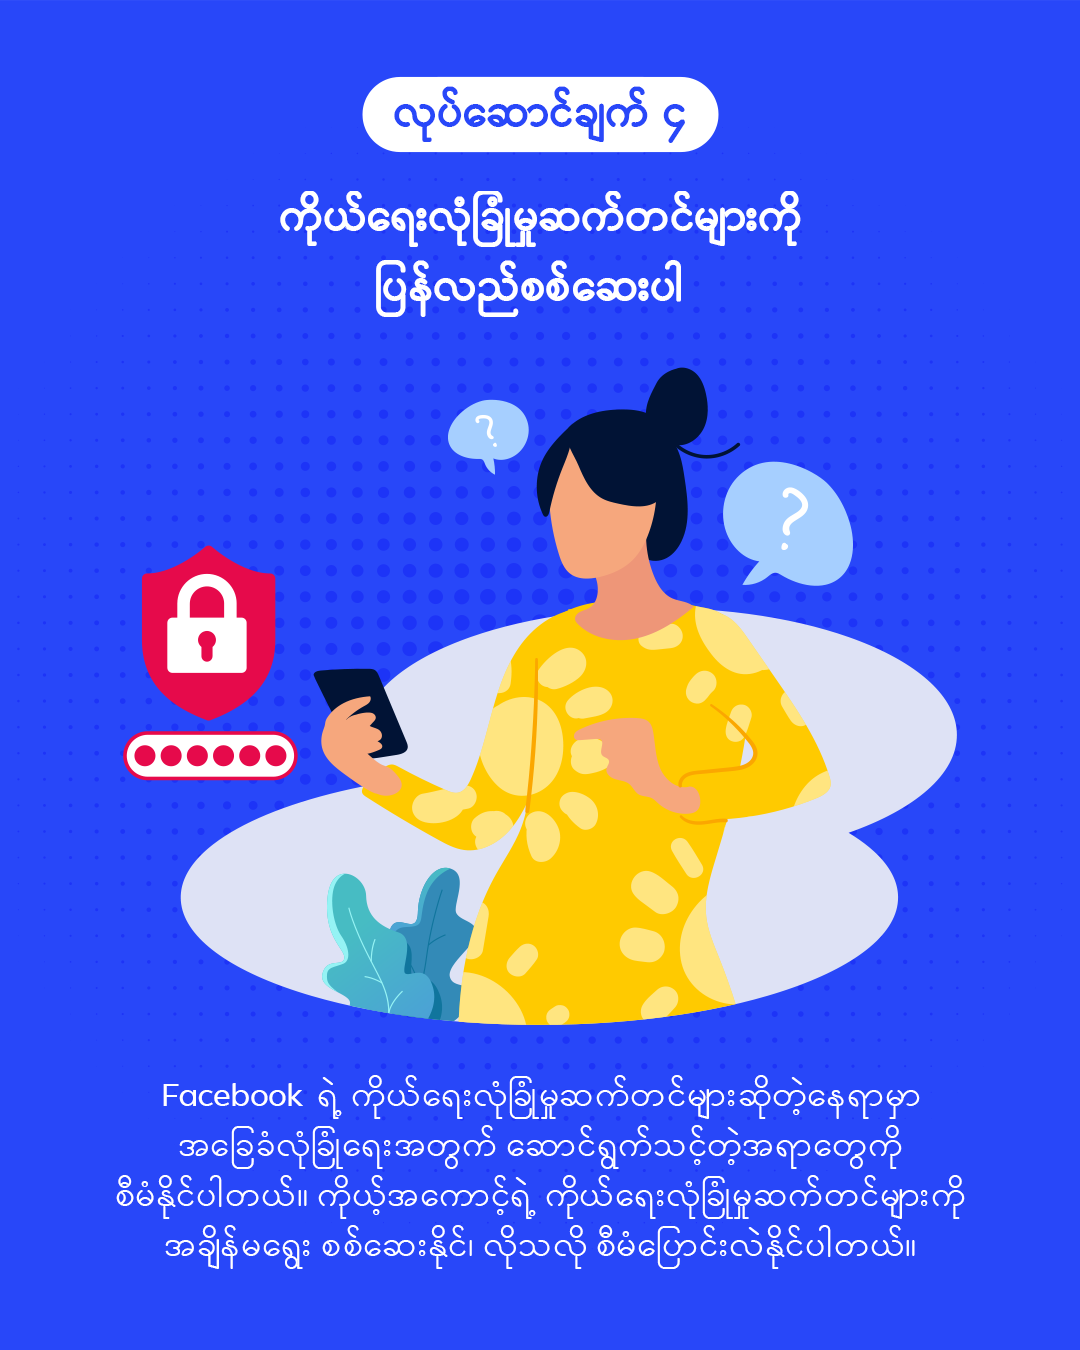
Tip 4 – Review Your Privacy Settings
You can review and adjust your Facebook privacy settings at any time. This allows you to control important aspects of your Facebook experience including who sees what you do, who can search for you, who is able to interact with you and your posts, and who can follow you.
How to review and adjust your privacy settings:
- Click the menu on the top right of your newsfeed
- Select “Settings & Privacy”, then click “Settings”
- Scroll down and click “Privacy”
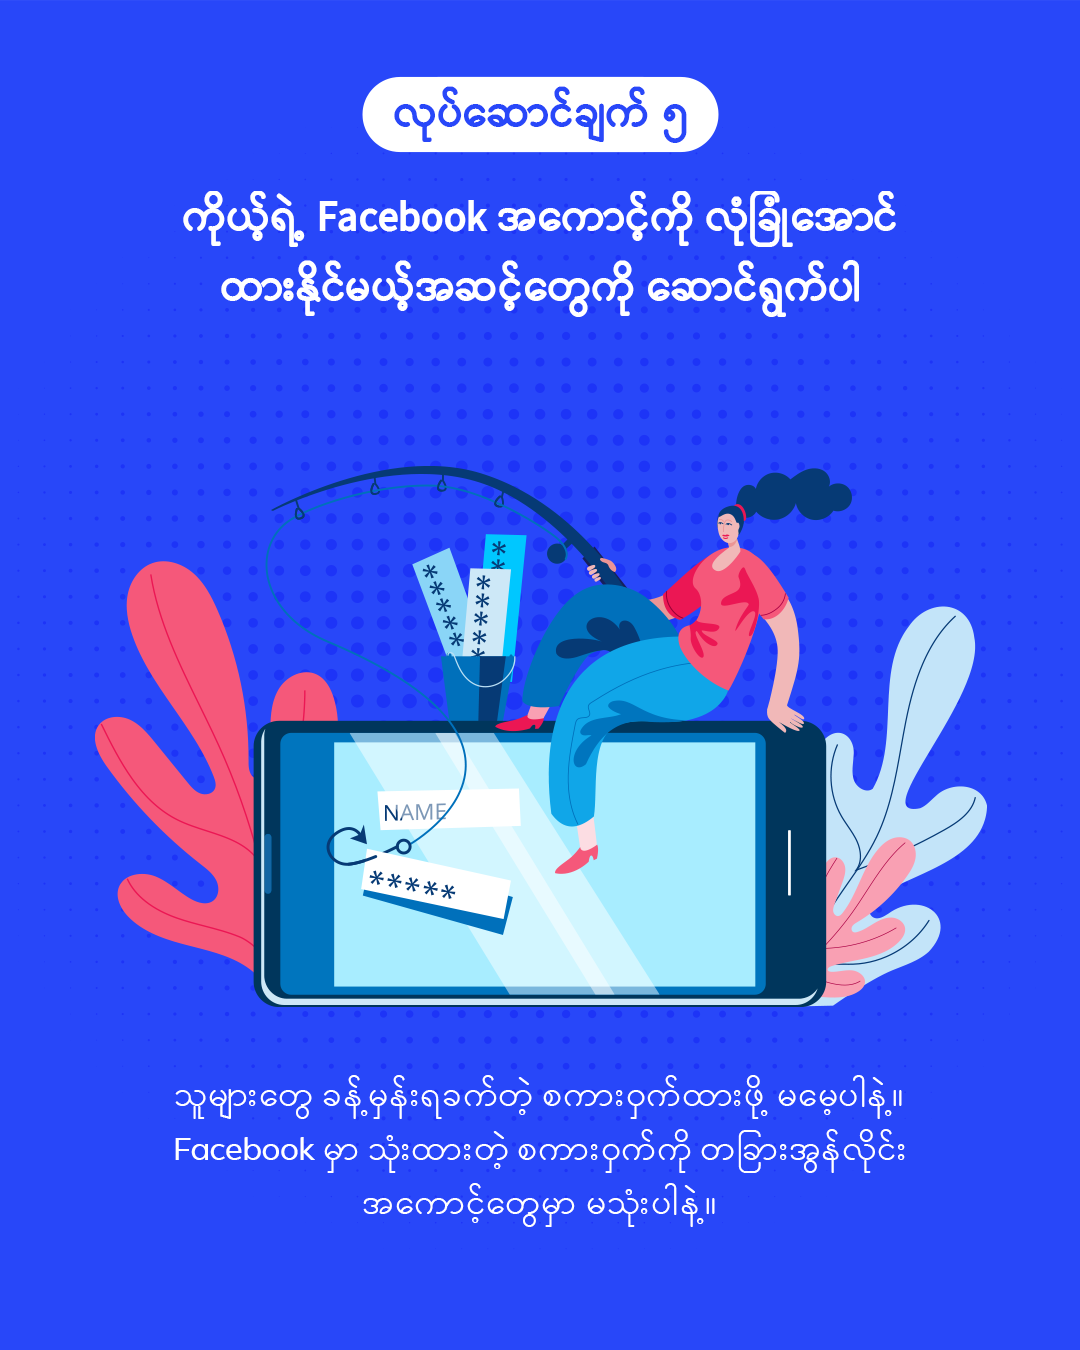
Tip 5 – Take Steps to Secure Your Facebook Account
Remember that your password should be difficult to guess. Don’t use your Facebook password anywhere else online, and never share your password. You should be the only one who knows your Facebook password and it should not contain personal information such as your name, phone number, birth date or address.
You can make your account extra secure by using “Login Alerts” and “Login Approvals”. “Login Alerts” notify you if your account is being logged into from a different device. “Login Approvals” are an extra security feature that requires a special security code to be inputted before you can log on to Facebook. You can switch on login alerts and login approvals in the “Security” section, under Settings.